
MARKLIN - HO/Z/G1 Scale Model Railways
-
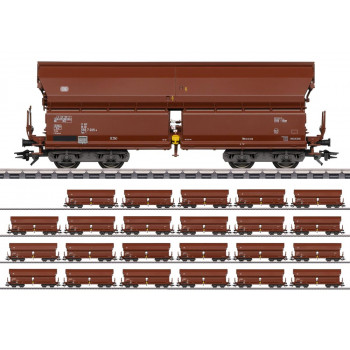
Marklin 00730
DB Tals968 Hinged Roof Wagon Retailer Pack IV (24)
- Scale(s): 1:87 Scale, HO Scale
- GM Part Number: MN00730
£1,075.00Out of stock but available to orderView Details -
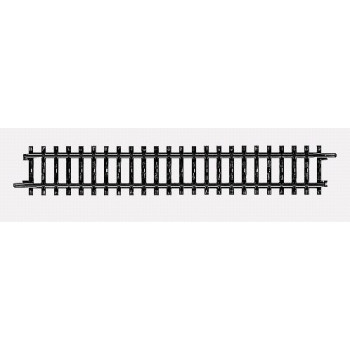
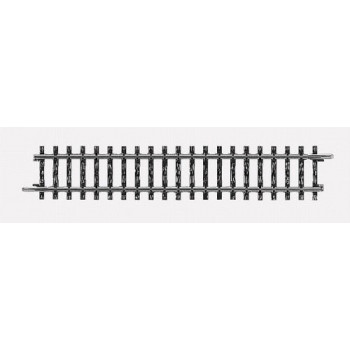
Marklin 2200
K Track Straight Track 180mm
- Scale(s): 1:87 Scale, HO Scale
- GM Part Number: MN02200
£4.05View Details -
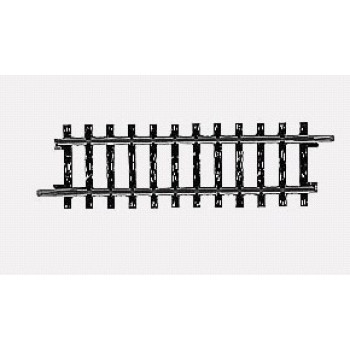
Marklin 2201
K Track Straight Track 90mm
- Scale(s): 1:87 Scale, HO Scale
- GM Part Number: MN02201
£3.95View Details -
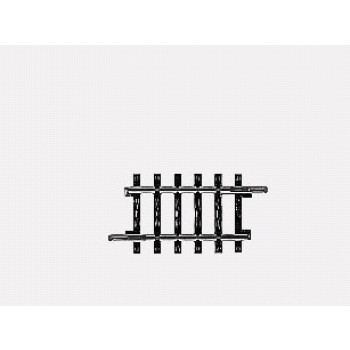
Marklin 2202
K Track Straight Track 45mm
- Scale(s): 1:87 Scale, HO Scale
- GM Part Number: MN02202
£3.95View Details -
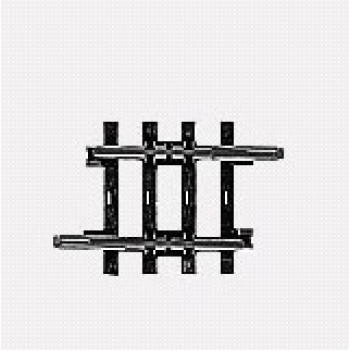
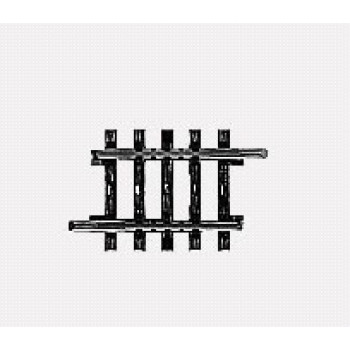
Marklin 2203
K Track Straight Track 30mm
- Scale(s): 1:87 Scale, HO Scale
- GM Part Number: MN02203
£3.95View Details -
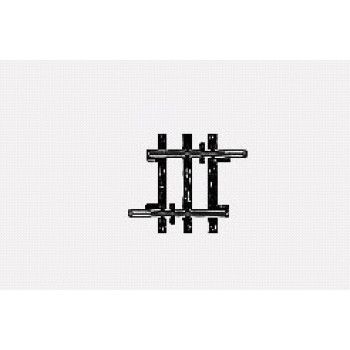
Marklin 2204
K Track Straight Track 22.5mm
- Scale(s): 1:87 Scale, HO Scale
- GM Part Number: MN02204
£3.95View Details -
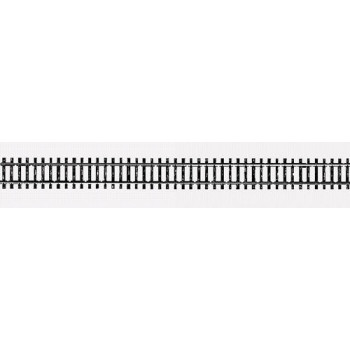
Marklin 2205
K Track Flexible Track 900mm
- Scale(s): 1:87 Scale, HO Scale
- GM Part Number: MN02205
£20.75View Details -
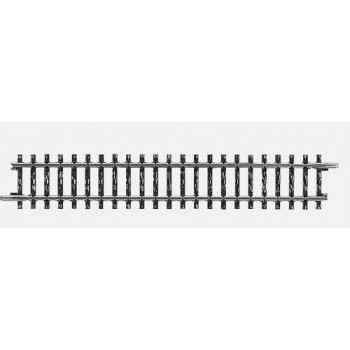
Marklin 2206
K Track Straight Track 168.9mm
- Scale(s): 1:87 Scale, HO Scale
- GM Part Number: MN02206
£4.05View Details -
Marklin 2207
K Track Straight Track 156mm
- Scale(s): 1:87 Scale, HO Scale
- GM Part Number: MN02207
£4.05View Details -
Marklin 2208
K Track Straight Track 35.1mm
- Scale(s): 1:87 Scale, HO Scale
- GM Part Number: MN02208
£3.95Out of stock but available to orderView Details -
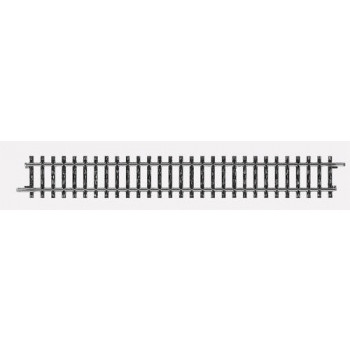
Marklin 2209
K Track Straight 217.9mm
- Scale(s): 1:87 Scale, HO Scale
- GM Part Number: MN02209
£5.25View Details -
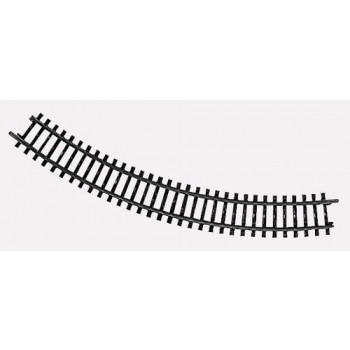
Marklin 2210
K Track Curved Track 295.4mm Radius 45 Degree
- Scale(s): 1:87 Scale, HO Scale
- GM Part Number: MN02210
£5.25View Details